Tuesday, July 18, 2023

How to Install Windows 11 VM on ESXi Host for Capturing MDT Image

 Once you create the VM on the ESXi Host, Boot from Windows 11 ISO

You will get the below Error message.


Press Shift +F10 and Enter the below command

REG ADD HKLM\SYSTEM\Setup\LabConfig /v BypassTPMCheck /t REG_DWORD /d 1

Type Exit, and you can start the installation process again.

NB: Make sure you delete the Registry Key before you do the MDT Capture process.

Friday, May 12, 2023

Powershell script to find a Folder location in outlook

Very useful when you have hundreds of folders in the user mailbox or shared mailbox, and you want to find a specific folder that was accidentally moved. 


Import-Module ExchangeOnlineManagement

Connect-ExchangeOnline -UserPrincipalName <Enter your admin exchange admin or global admin credentials>

# Search for the folder

$folder = Get-MailboxFolderStatistics -Identity "enter the mailbox address" | Where-Object {$_.Name -eq $folderName}

# Check if the folder exists

if ($folder -ne $null) {

    Write-Host "The folder '$folderName' is located at $($folder.FolderPath)"

} else {

    Write-Host "The folder '$folderName' was not found."

}

# Disconnect from the mailbox

Remove-PSSession $session

Friday, October 21, 2022

MDT Sysprep and capture not working after updating ADK

 I have created a new MDT server with Windows11 ADK and since then, I couldn’t get the MDT "Sysprep and capture" task sequence working.

I was trying to capture the image using VMware VM, and as soon as the computer restarted after the Sysprep, it went into a reboot loop.


After trying multiple troubleshooting, I found the below article from Johan Arwidmark.

https://www.deploymentresearch.com/making-mdt-work-with-windows-adk-2004-for-bios-machines/

The way I got it working is not only adding the FixUEFIDetection.wsf but also updating the MDT using the KB4564442

https://download.microsoft.com/download/3/0/6/306AC1B2-59BE-43B8-8C65-E141EF287A5E/KB4564442/MDT_KB4564442.exe

Once you download the file, double-click on it to extract it. It will create an x86 and x64 folder.

You must copy and replace the file in the Driveletter:\Deploymentshare$\Tools\x86 and x64 folder

Completely regenerate the boot images


Once finished, you should be able to capture the image successfully


Thursday, August 4, 2022

Find GPO's applied to a computer if the gpresult /r and rsop.msc failed to load due to permission

How to see the group policies applied to a computer if the gpresult /r and rsop.msc failed to load due to domain permission

Run the command prompt as administrator

Enter gpresult /Scope Computer /v

This will show all the GPO policies applied to the computer in detail.

 or Enter gpresult /r /scope:computer


Wednesday, August 18, 2021

Use office deployment tool to install Office365 on MDT Image

 Download the Office deployment tool from Microsoft

https://www.microsoft.com/en-au/download/details.aspx?id=49117

Extract the file to your local machine.


The extracted folder will look like below

Depending on the version, edit the .xml file or create a copy of the .xml file. I have made a copy of the .xml file and named it configurationx64.xml.

I have changed the <Display Level> from None to All to see the installation progress and select the Channel option to “Current.”

Read about the update channel using the below link

https://docs.microsoft.com/en-us/deployoffice/overview-update-channels

After updating the Configuratonx64.xml, I created a batch file called Install.bat and enter the below details


You can run the install.bat to install office 365 directly on the image. If you are installing directly on the image, make sure you don’t open any office application until you capture the image.

The other option is to download the office365 file and install it as an application.  

To download the office file, I have created a batch file called download.bat and enter the below details

Run command prompt as administrator and run the batch file. 

You will be able to see a new folder called office getting created under the office folder.

You can copy the file to the MDT server and create an application or copy the entire office folder to any machine and install it using the install.bat command. Since you have already downloaded files, the installation will be quick. 


Friday, January 29, 2021

Remove Windows 10 Built-In Apps when creating MDT Image

Before you run the script it is good to understand what is AppxPackage and AppxProvisioned Package

AppX packages – Applications installed with the operating system

AppX provisioned packages – Applications installed for each new user to a windows image.

The two commands which are used in the scripts are 

1) Remove-AppxProvisionedPackage 

2) Remove-AppxPackage

The Remove-AppxProvisionedPackage cmdlet removes app packages (.appx) from a Windows image. App packages will not be installed when new user accounts are created. Packages will not be removed from existing user accounts. To remove app packages (.appx) that are not provisioned or to remove a package for a particular user only, use Remove-AppxPackage instead.

https://docs.microsoft.com/en-us/powershell/module/dism/remove-appxprovisionedpackage?view=win10-ps

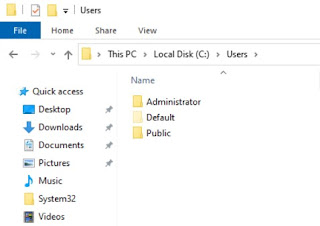
In MDT, When we create a windows image, we make the changes in Audit Mode, which is the administrator account but when new user login for the first time after the deployment the user profile get copied from the Default Profile (Hidden by default).

Remove-Appx-ProvisionedPackage removes the packages from Default Profile so the new users will not see those packages when they log in.


Each windows version comes with a different list of Application. It's better to run the below commands and get the list.

Get-AppxProvisionedPackage -online | select DisplayName

Get-AppxPackage | select Name


Once you get the list and decide what you want to remove, you can add it to the $AppList and the script will remove the Apps from the image.

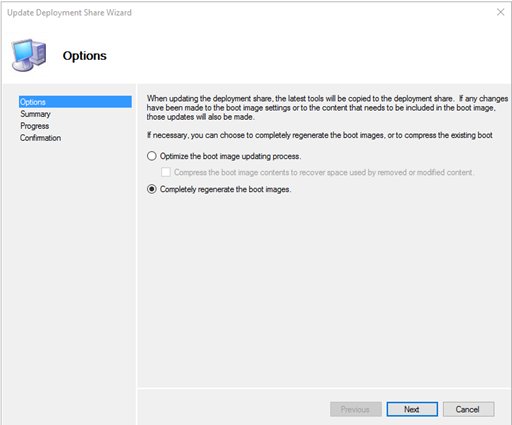
Create a powershell script by copying the below and run it on the MDT image

$AppsList = "Microsoft.BingWeather",

"Microsoft.Getstarted",

"Microsoft.GetHelp",

"Microsoft.Messaging",

"Microsoft.Microsoft3DViewer",

"Microsoft.MicrosoftOfficeHub",

"Microsoft.MicrosoftSolitaireCollection",

"Microsoft.MixedReality.Portal",

"Microsoft.People",

"Microsoft.Office.OneNote",

"Microsoft.ScreenSketch",

"Microsoft.Wallet",

"Microsoft.windowscommunicationsapps",

"Microsoft.WindowsAlarms",

"Microsoft.SkypeApp",

"Microsoft.ZuneVideo",

"Microsoft.ZuneMusic",

"Microsoft.YourPhone",

"Microsoft.XboxSpeechToTextOverlay",

"Microsoft.XboxGamingOverlay",

"Microsoft.XboxGameOverlay",

"Microsoft.XboxIdentityProvider",

"Microsoft.XboxApp",

"Microsoft.Xbox.TCUI",

"Microsoft.WindowsMaps"

ForEach ($App in $AppsList)

{

$Packages = Get-AppxPackage | Where-Object {$_.Name -eq $App}

if ($Packages -ne $null)

{

"Removing Appx Package: $App"

foreach ($Package in $Packages) { Remove-AppxPackage -package $Package.PackageFullName }

}

else { "Unable to find package: $App" }

$ProvisionedPackage = Get-AppxProvisionedPackage -online | Where-Object {$_.displayName -eq $App}

if ($ProvisionedPackage -ne $null)

{

"Removing Appx Provisioned Package: $App"

remove-AppxProvisionedPackage -online -packagename $ProvisionedPackage.PackageName

}

else { "Unable to find provisioned package: $App" }

}


Tuesday, January 12, 2021

Mapped Share Drive not showing all the files available for the User

In this case, User has got Finance Drive (F:\) Mapped on his computer and when he opens the F: Drive he can only see one folder

If you UNC to the Finance drive \\servername\sharedFolder\ User can see more than 100 folders available to him.

The permission was right, tried deleting the Drive using 'net use' command, and logged off and logged back.

The Drive Mapped fine but still showing only one folder.

When I right-click and select properties of F: Drive it was showing the File System as CSC-CACHE

I have Created a DWORD(32Bit) FormatDatabase under HKEY_LOCAL_MACHINE\SYSTEM\CurrentControlSet\Services\Csc\Parametersset its value to 1

Restart the computer, and it will clear the MAP Drive Cache, and you will be able to see all the folder in the Mapped Drive

How to Install Windows 11 VM on ESXi Host for Capturing MDT Image

 Once you create the VM on the ESXi Host, Boot from Windows 11 ISO You will get the below Error message. Press Shift +F10 and Enter the belo...